So I know that I have really been slacking with the whole posting on the blog, but this might be the best post yet! Gotta keep you reading, hahahaha =). Anyways, like the title says there really is so much to talk about!!! A couple post back I talked about having all my bike parts in, well one package got lost on campus, which caused work on the bike to basically come to a stand still, but don't worry, after a lot of e-mailing and communicating with individuals on campus, THE PACKAGE WAS FOUND!!! But lets talk about the other stuff that has happened since the last post, 1. Gluing test with the marine grade epoxy 2. Plyboo handle bar build (really cool process)
Like I said I began with drawing the mold out, to figure out how wide the handle bars needed to be I acted like I was holding handle bars in front of me, and I had someone measure the distance between my knuckles to get the inside dimension of the bars. To get the curve of the bars I used the closest thing to me that was round, I used a roll of wire, and placed it on the spot where the two line intersected and drew the curve.
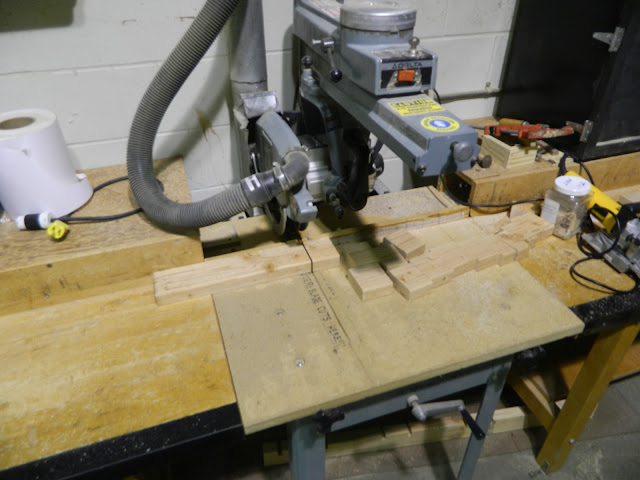
As you can see I marked on the cardboard so that I would get the same curve on the other side, making exactly symmetrical handle bars. Next comes the step dealing with building of the mold. I cut a scrape 2 by 4 I had saved from an old pallet I took apart into 2 to 3 inch blocks. Then wrapped them in plastic so that the then lamination wouldn't stick.
You then drill holes into the plywood drawing to attach the blocks to hold the lamination during the gluing process.
You then counter sink the holes so that the screws holding the blocks set flush against the bottom of the plywood mold.
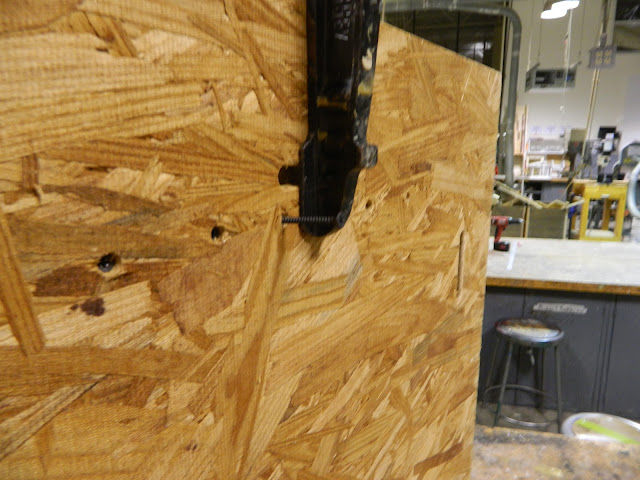
I also used a clamp to hold down the blocks, and finally the last picture is the completed mold. The bent lamination process will continue in the next post!
-Nick


